

Sensor VMS C2 focuses on allowing visitors to sign themselves into the system and a live muster screen.
The demo server files can be downloaded from here.
Please contact support@sensoraccess.co.uk if you need the files for a customised server.
Setup instructions:
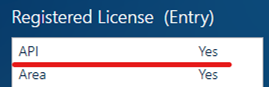
- Your GP10 license must have the API module enabled.
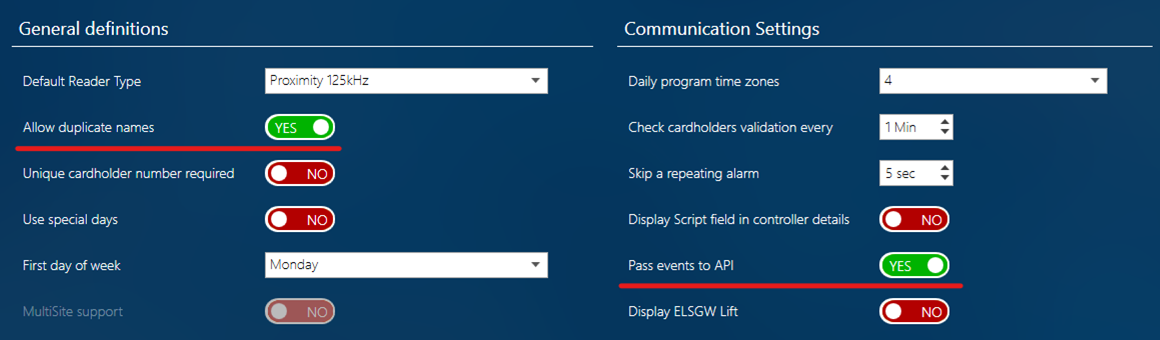
- In the Options > General screen, make sure Allow duplicate names are enabled.
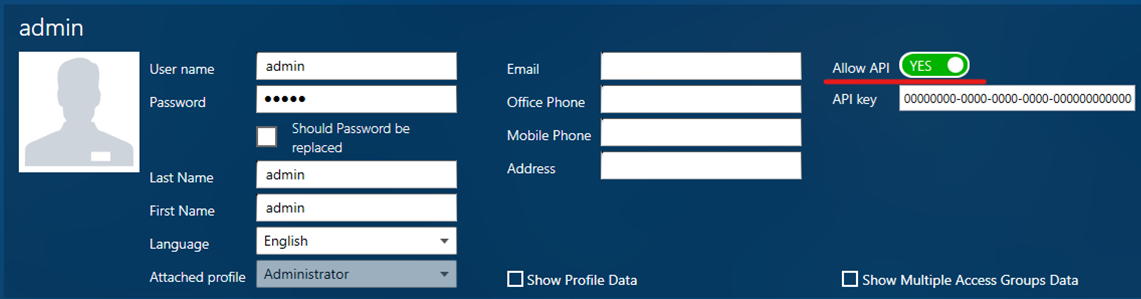
- Users who will be logging into the Web Module must have Allow API set to Yes in the GuardPoint 10 Users screen.
- Go to Cardholders, then Customized Fields.
Create 4 Text fields named Host Name, Visit Purpose, Host Signature and Visitor Signature.
Create a Yes/No field named NDA Agreed.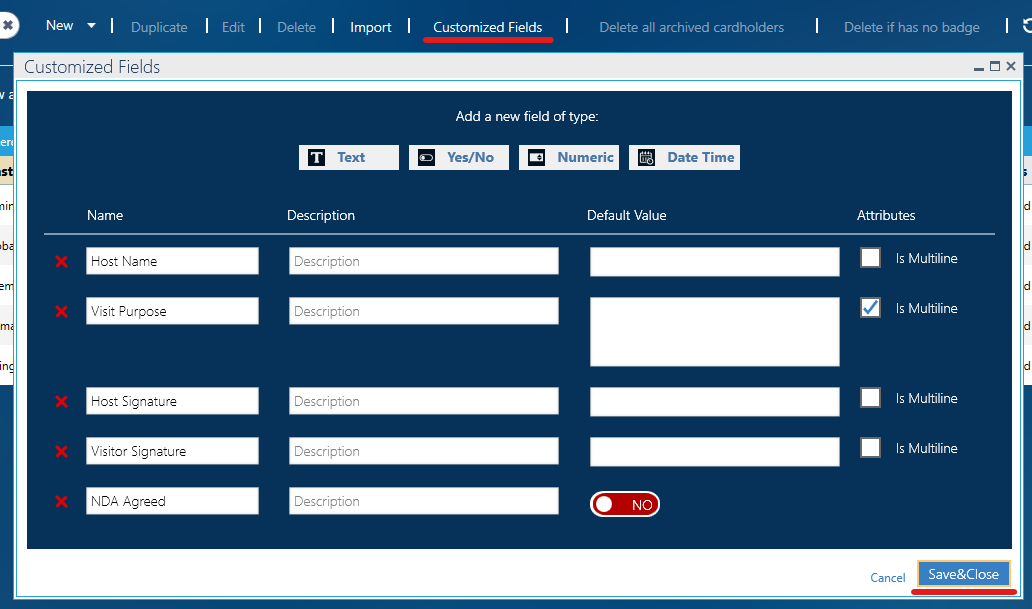
Warning: If you already have existing custom fields, please contact us for further instructions. - The config.ini file stores all the configuration settings for the VMS server.
If your GP10 server is on a different machine, change the base_url setting to match.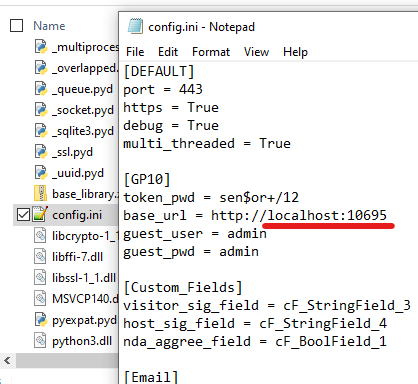
port key is the port on which the server will be hosted.
guest_user and guest_pwd are the logins that will be used for the muster screen. - When you are done, save and close the file.
- Start the VMS server application. You should see the following console screen.
(The VMS exe may have a different name or logo depending on branding)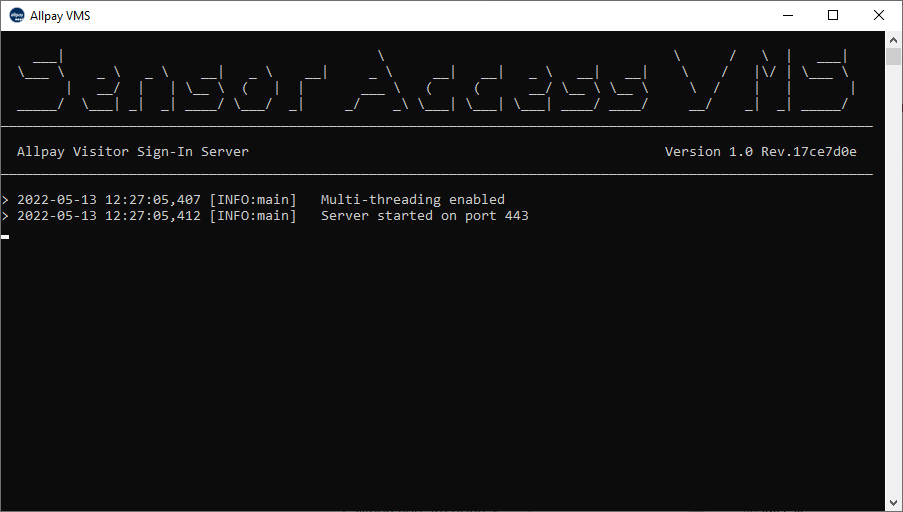
- You can now connect to the web interface with the server’s IP address / name and the port number.
If the console screen shows any errors, please double check the settings are correct and let us know at support@sensoraccess.co.uk.
Running the VMS as a service using the NSSM (The Non-Sucking Service Manager)
By default the VMS server runs in the foreground and requires the user to be logged in to stay active.
If the user logs out the application will be terminated. By using a free and public domain tool called “NSSM” we are able to package VMS as a service thus allowing it to run in the background even when user is logged out
The tool can be found here and is called NSSM (The Non-Sucking-Service-Manager)
https://nssm.cc/download
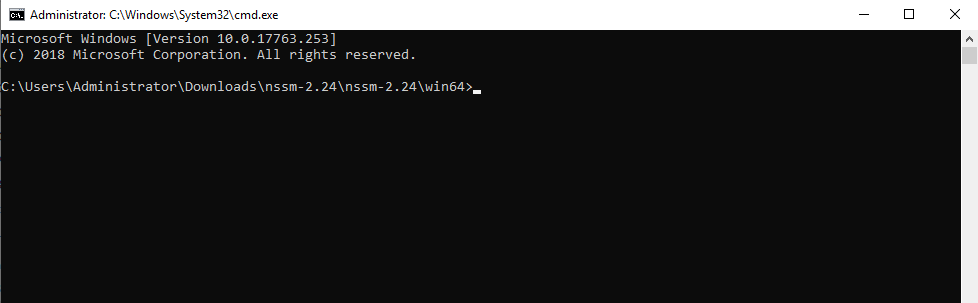
1. Navigate to where you have installed NSSM and open a command window in that directory, in our case this would be:
C:\Users\Administrator\Downloads\nssm-2.24\nssm-2.24\win64
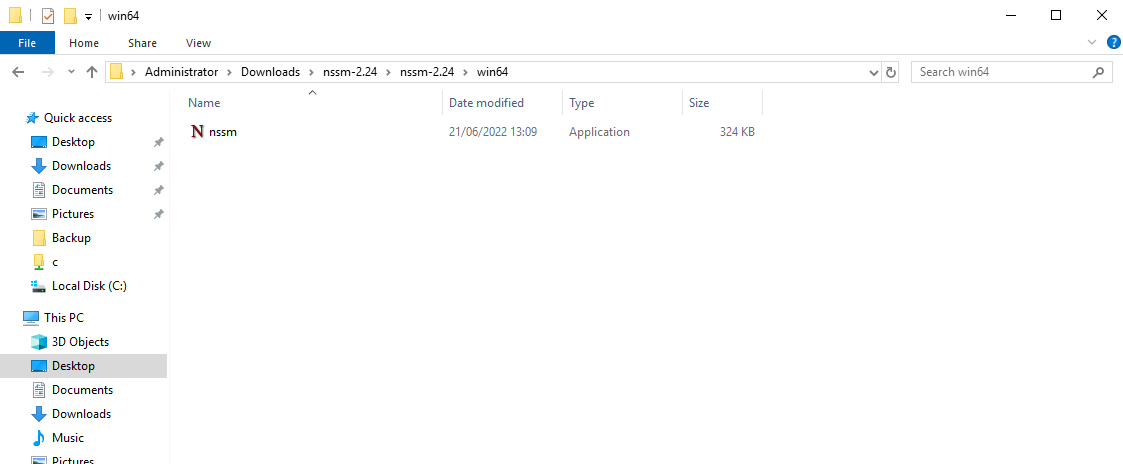
Your command prompt should look the same as below:
- Now using command prompt in the directory, type nssm install VMS followed by the path, right down to the executable. In our case here it is this:
nssm install VMS "C:\Users\Administrator\Desktop\VMS_C2\VMS_C2\VMS_C2.exe”
After this, VMS will run as a service and can be configured by selecting it in the windows services menu, (You may need to do this just once so it knows to turn on whenever the computer is on).
Comments
0 comments
Please sign in to leave a comment.