

Adding a Controller
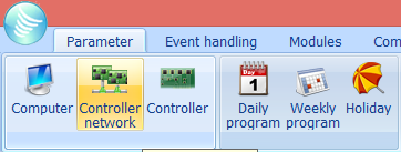
- In the GuardPoint Pro main menu go to Parameter>Controller Network
- At the Controller network screen click new, give the network a memorable name and save
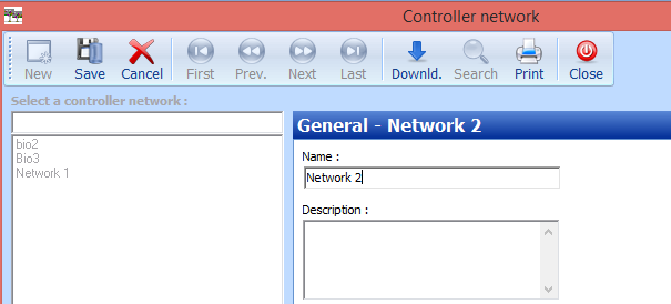
- At the bottom of the controller network screen there are 2 tabs, General & Definition, click definition
You now have 2 choices based on the type of controller, IP or Serial:
If you have an IP controller you first need to set the IP address of the controller.
Consult the tibbo document for tibbo IP controller or the Lantronix document for lantronix IP controllers.
Configuring Serial controllers
- At the definition tab of the controller network screen select the com port number assigned to the USB to Serial converter [Note: You can find this number from the device manager tree of you PC, looking in Ports (Com & LPT).

Configuring an IP controller Network
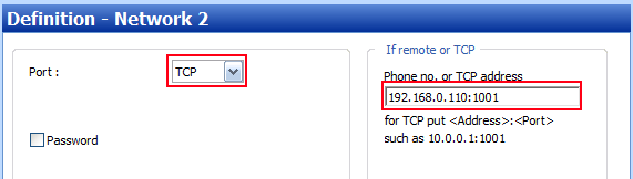
- At the definition tab of the controller network screen select the TCP definition.
- Fill in the field Phone no. or TCP address with the IP address you assigned to the controller from Part 3 of adding a controller including the port number at the end of IP address. Save and close controller network screen
[Note: Default tibbo port is 1001, Default Lantronix port is 10001]
Adding the new controller
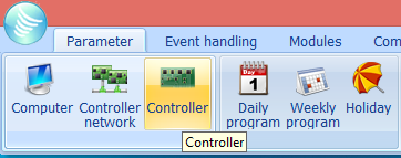
- In the GuardPoint Pro main menu go to Parameter>Controller
- At the Controller screen click new, give the controller a memorable name an then save
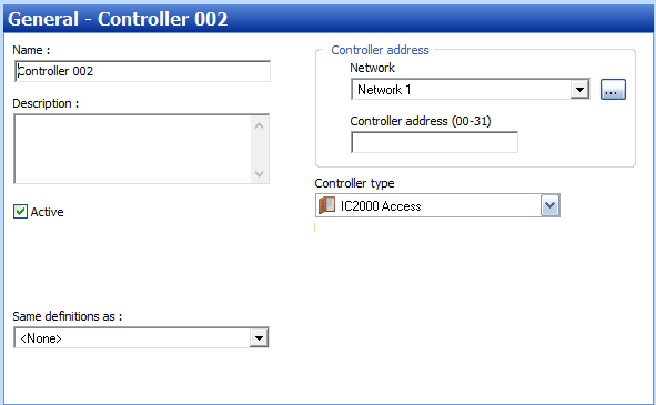
- At the controller address>Network you should select from the pick list the network name you made earlier
- The controller address is the physical address of the controller configured by the large red 8 switch dipswitch on the controller
[Note: Refer to the manual of the controller on how to set the physical address/dipswitches]
- At the Controller Type, select from the pick list the controller that matches your controller
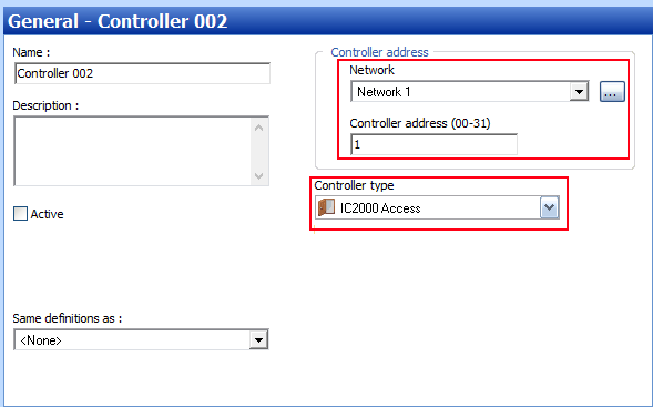
- Click into the Active box, a tick will appear. Now save, your controller will come online.
Comments
0 comments
Please sign in to leave a comment.